Moments – Abstract Piece

Nigaahein. Hindi for eyes. The song I used is about conveying messages, feelings and emotions through what an eye can see, which cannot be conveyed with words. I got a few great shots when we were sent out shooting a few weeks back and putting it together I had a few ideas or first thoughts. But I finally setlled on this because I feel the video is a great representation of my everyday life here in Melbourne. The song itself is copyright free for me as it has been composed back home and the singer was a housemate back in the day.  I decided not to use any music from the copyright free website as I have done that in the other videos we made this semester. I had this piece sitting with me, so why not, eh?

Nostalgia. I go back home for the winter break and everyone has been asking me how melbourne is. My family wants to see what I saw everyday. That I think is the essence I am trying to capture here. We never had any form of a video for this great track and I sorely hope I have done it justice.

That out of the way, a few weeks back we went and recorded both video and audio randomly without really knowing we would have to use it together to make something. Looking back at it now, I imagine even abstract comes out better if we have some semblance of a plan. While putting this video together, my head was swimming with ideas of what I can do and what would really make it stand out from what everyone is doing as we were working with the same footage. I would like to go out and do it again, someday maybe to make a real video for my song.

Audio

Suprisingly, we actually got some great audio clips. We even got one guy singing va-va-vroom into the mike, which I think sounds very European in a way if I were to use it. A lot of background noise was recorded as well, which doesn’t work too great for us. I noticed if you want to record some fx sound it’s almost impossible to get good quality because we couldn’t really isolate it. We were able to get sounds of footsteps and doors clicking shut out back, where the ambience noise was much quieter. Also using metal fire escapes worked better than we thought with footsteps.

Overall, I decided not to use it in my video as I felt a minute was really less to incorporate these very well, trust me I tried. For a longer video, I could definitely see it. Also it was so random and I couldn’t really build a good contrast there.

Video

I ended up not recording what I wanted as I was last on the list for recordings and with barely any time left, we rushed to the place I wanted to do it. We found it locked as there was a meeting going on in the room that lead to it. But, no worries, my friends did get some pretty good stuff that we could use. The actual activity of recording went really well as we were a close knit group, really easy going, and complimented each other in everyway. I enjoyed the process more than most other activities just because I had a group who understood and respected each other. I think that is really important if one wants to have a good product in the end.

What I did notice though was that no-one was really bothered with white balance and the other things that we have learnt about and there wasn’t much experimentation that took place. I think everyone was more focused on the content and not how it would look which would be a major problem if we were actually going to get any money shots.

Editing

Like I mentioned before, putting it together, I really wanted much more. But, overall I really enjoyed the process. I worked using all kinds of things that premier has to offer. I know that I absolutely hate the effects you can put in between shots. I like the sudden cuts. I loved playing with the colours and I feel it produces a very different feeling to the video, adding to the nostalgia value that my song creates. I also wrote a few haikus and I felt it took away from my video rather than adding to it, so I went without. I also tried putting in subtitles but decided against it as I felt it took away from the eerie unknown feeling now.

I also realize I’ve used a lot of people in my video who, on a normal basis I would have to take permission from before putting there, but I figured since they are people I am currently working with, this once it wouldn’t really matter. Also, I am not using my video for any commercial process or even in my portfolio as it is just me having fun and creating something personal.
Colour Me Blue

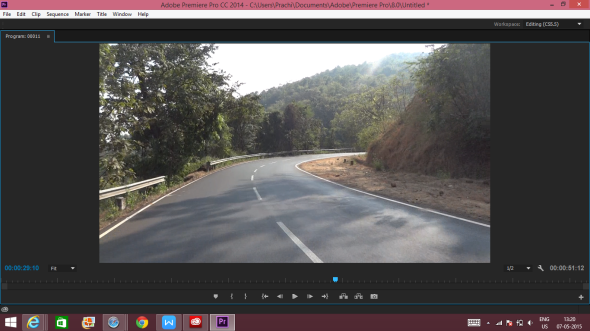
A Road to NowhereScreenshot (1)

This is a screenshot of my original video. It was taken in the afternoon light travelling down a road. I tried playing with quiet a bit and some of the effects I created were pretty awesome.

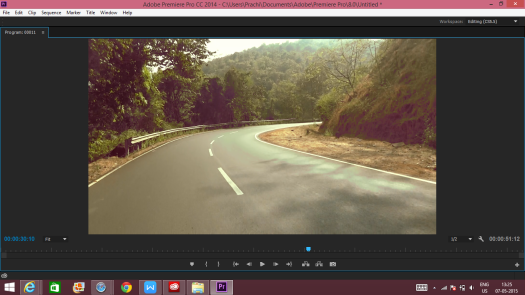
Screenshot (5)

With this Screenshot, I make the picture look sunnier by reducing the shadows that you can see in my original shot. It looks like a hot afternoon’s shot, doesn’t it? To do this all I did was use three way colour corrector and bend the three colour grades towards reddish and greenish tones along with reducing the intensity of the image.

Screenshot (7)

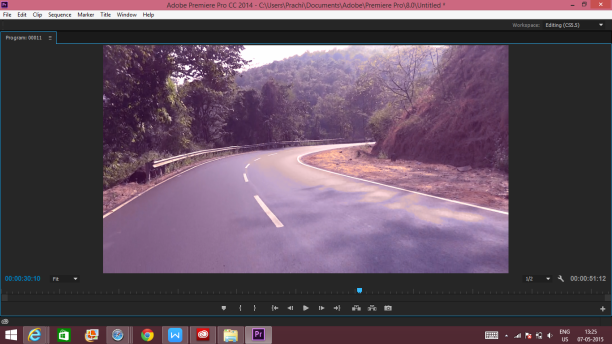
In this clip, I simply moved the colour correction towards more pinkish tones to get an older times look to it. Those days with crappy cameras and hippie eras. This road of Goa has been photographed in such colours quiet a few times and I love the fact that I was actually able to imitate it somewhat.Screenshot (8)

In this image, I used both the Luma Curve as well as the Three Way Colour Corrector. The curve looked more like an S rather than a diagonal line when I was done with it and I tried to increase the shadowwing to give it a dawn kind of feel. The day is just starting.

Taj Mahal

Screenshot (10)

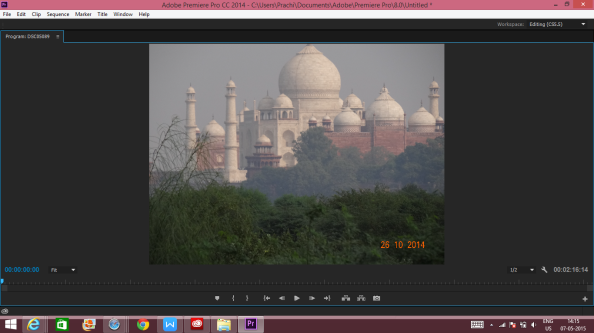
Before doing anything, this was a shot of Taj Mahal, taken early on a winter morning.

Screenshot (12)

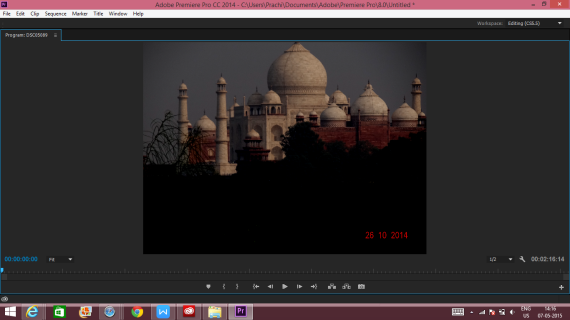
In this shot I dimmed the brightness and increased contrast by 27%. I also increased the red tones using three way colour corrector. I did this to make Taj Mahal stand out, to create focus on it.

Screenshot (13)

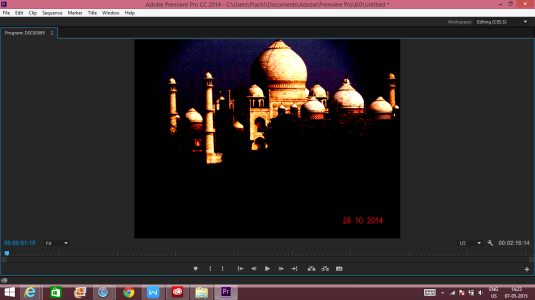
This I think is my coolest effect. I kept the contrast and brightness levels I had set in the previous image and added the change colours effect. I then played with the hue, saturation and lightness.   I did this to achieve another way of making my Taj Mahal stand out which it didn’t in the original shot.

Screenshot (14)

In this picture I increased the colour balance, mostly red and green. I also increased the contrast a little bit. It now looks like I’m at the start of telling an ancient tale. This would probably be an opening shot.

Sunburn – Music festival

Screenshot (16)

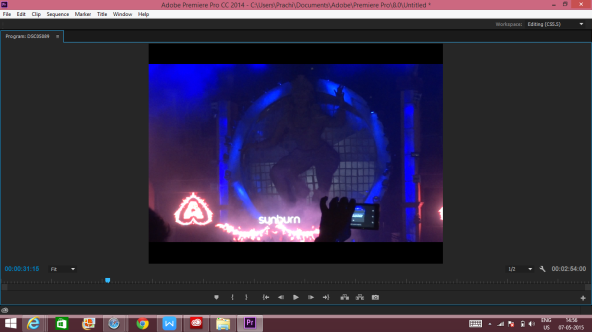
This is an original video I made at the Sunburn festival in Goa. As you may notice the quality is pretty bad. So I did a few things, check it out.

Screenshot (17)

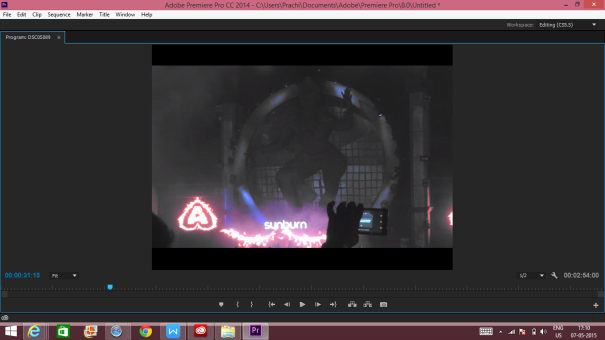
I thought this was really cool for a credits scene. It helps the logo to really stand out. I did this by lowering the brightness and incresing the contrast. I also used the three way colour corrector to increase the pinkish tones.

Screenshot (18)

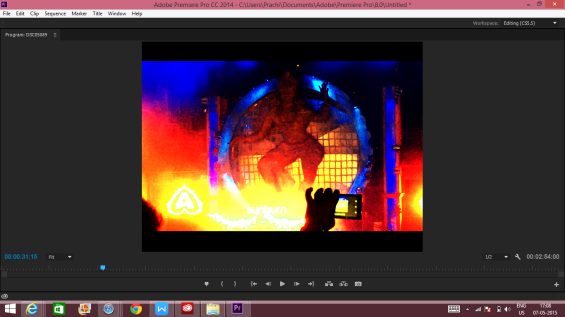
For this image I played with the RGB curves to make the image look like there was more than just blue lighting. I like the way the colour combines together. It’s great for music festivals.

Screenshot (19)

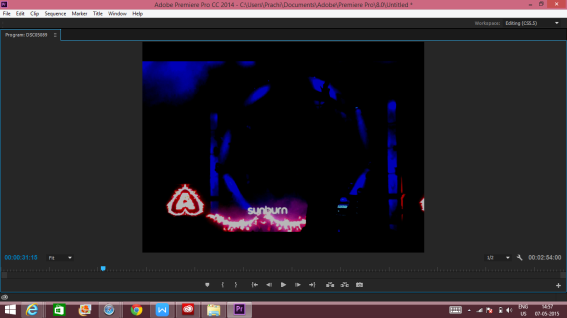
To take the lighting out completely, I used Video Limiter. It changed my image to black and white while still leaving the logos in colour. It’s a pretty cool thing to do because if you actually imagined doing it, it sounds next to impossible or at least a lot of work.

Keyboard Shortcuts on Premier CS5.5 – Unleash Your True Potential

premiere-main02

This year, I’ve suddenly gone from not knowing any Adobe softwares to using quiet a few for my Master of Media course. I was aware of shortcuts I use on the usual Word file or so and Adobe softwares have a lot of these similar ones. It was actually quiet easy to get into the habit of using these shortcuts. It’s a great time and energy saver and definitely helps keep frustration levels on a down low.

Using Premier, I’ve been using a lot of shortcuts for in points, out points and insert clips, using the pen tool, zooming in and out and the usual cut, copy, paste and delete. But there are many more, quiet a long list of them which we can use. More than learning about the shortcuts themselves, I actually picked up the number of things you can do on Premier or other Adobe softwares. It’s pretty cool, almost like a funny epiphany on how far technology has gone. I can do anything!

Three shortcuts that I found cool and am using now are:

1. F5 (Capture) – Sometimes, you can be really stuck with something so easy. Screen capture, though fairly easy to do otherwise is a little different if you are using these softwares. The first time I wanted to use it as a reference, it took me ten minutes on the interenet looking for how to do it and I went through a long process of rendering out my video and then making a normal screen capture. Suprisingly or not, it is actually really simple. Just click F5. Epiphany, I’m telling ya!

2. Shift + ; (Next in Sequence) – Here is a different one you wouldn’t ever think of using a shortcut for, it’s just that simple. We end up clicking next next next a billion times to forward our clips and generally end up using our mouse to scroll, click on the next clip. Now all I do is shift and ; and I am there. Wierdly this will probably save the most amount of time on this program because of the amount of times we go from clip to clip. Add an alt there and you can go back to the previous clip.

3. Ctrl/Cmd + L (Loop) – Looping is amazing people. You have to see your work again and again and again to point out and fix all the small things on there. Just use this shortcut to make life easier and have your clip playing in a loop. Works wonders without distractions of rewinding and pressing play everytime.

Check out the ripple effect (B) as well. SO HELPFUL! More as a function though. There are loads more, but I get to write only about three. Until the next epiphany!